Know what the numbers mean and where to write different information
It’s important to correctly and accurately write out checks. If you make mistakes when filling out checks, it could negatively affect your finances. In fact, according to Elizabeth L. Gray, Esq. of McCandlish Lillard Law Firm, financial fraud is one of the quickest growing types of abuse and “individuals with disabilities are particularly vulnerable.”
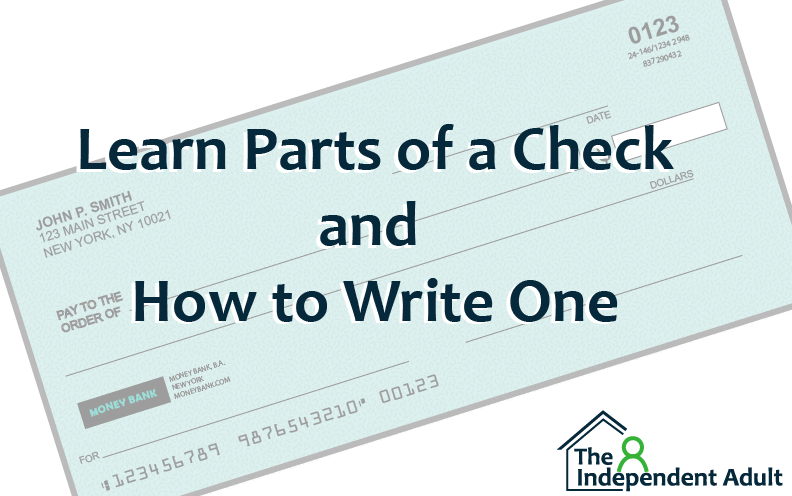
We can be proactive against financial fraud by understanding the different parts of a check. An Independent Adult aims to write a check with confidence and accuracy.
Let’s look at an example check and breakdown the parts and why they matter.
Here is an example of the front side of a check:

The first parts of the check we are going to review come already printed on your checks. It’s important to make sure the information is correct.
1. Your Personal Information
In the upper-left corner you should see details about you. Checks generally include your name, your address, and sometimes your phone number.
Tip: if your address changes, you can either order new checks with your new address or continue to use the checks with the old address until you run out then order replacement checks with the new address. As long as your bank account stays the same, you don’t have to order new checks with the new address immediately.
2. Your Bank Information
Also on the left side, you will find your Bank’s information – possibly their logo and/or address. If the information is correct, you are good to start using your checks.

Do you know which to use to write on your check?
A. Pencil
B. Black or blue pen
C. Any color marker
D. Red or purple pen
*Find the answer at the end of this article
Tip: Some people use the “month date, year” format such as “May 27, 2022” and some people use the “MM-DD-YY” format like “5-27-22”so use whichever comes easiest and stick with doing it that way.
Next, we’ll look at the empty spaces where you will write in the appropriate information on the check.
3. Date Line
Near the top right, this is where you write the date you are writing the check.
Tip: Some people use the “month date, year”format such as “May 27, 2022” and some people use the “MM-DD-YY” format like “5-27-22”so use whichever comes easiest and stick with doing it that way.
4. Pay to the Order of Line
The information on this line tells your bank who is allowed to take the money from your check/bank account. Depending who you are paying this could be the name of a person or a store.
Tip: another name for this line is called the “Payee Line” and it means the same thing – who is allowed to receive your money from the check.
5. Dollar Box
The dollar box is always directly to the right of the large dollar sign ($). This is where you use numbers to write the amount of money you are paying.
Tip: Write slowly and carefully. If it will help, practice writing the dollar amount on a scrap piece of paper first.
6. Amount (written out)
This is long line that goes from the left side of the check all the way to the right side of the check. It usually says “DOLLARS” under the right side. On this line you write out the amount of money you are paying, but instead of using all numbers, you write out the number words. For example, instead of writing “300” you need to write out “three hundred” on the line.
Tip: if writing out the number words is tricky, you can print a free “number words for checks reference sheet” under “Freebies” from The Independent Adult website.
7. Memo Line
This line is used to make a note to yourself about why you wrote the check.
Tip: if writing a check to a person, make a note about what it is for (e.g. groceries, gas money). If you are writing a check to pay a bill, write the invoice number or utility account number from the bill on the line.
8. Signature Line
Located in the bottom right of the check. If you approve your bank to pay the person or business the amount in the dollar box, then sign your name on this line.
The next parts of a check are important for being able to:
- Order new checks
- Set up direct deposit pay for your job
9. Your Bank’s American Bankers Association (or ABA) Routing Number
On the bottom, this is the leftmost set of numbers in a row and it is how banks all over the world find each other. It acts like an “address” for banks’ money.
10. Your Bank Account Number
On the bottom, this middle set of numbers in a row act like an “address” for your bank account. It tells the other banks where from to take the amount in the dollar box.
11. Check Number
On the bottom, this rightmost set of numbers in a row is the number of the check. This number is also found in the top right corner of the check.
Tip: Check numbers can be used to keep a list and double check which checks have been taken out of your bank account and which checks are going to be taken out soon.
Answer: When writing a check, it is recommended to use black or blue pen.
Come back next week for the next article in our check series – Receiving and Depositing Checks.
Visit the Resources Page on The Independent Adult for more in-depth guides on additional financial skills.
